
When I was helping parents of children who have Autism Spectrum Disorder around the state I often made these envelope visual schedules and first-then schedules. They’re not too big to carry around and you can fit the tokens, icons, and/or a marker into the envelope. Once I was working in the schools I found them really handy, too! Here’s how I make them…
Step 1: Gather Supplies
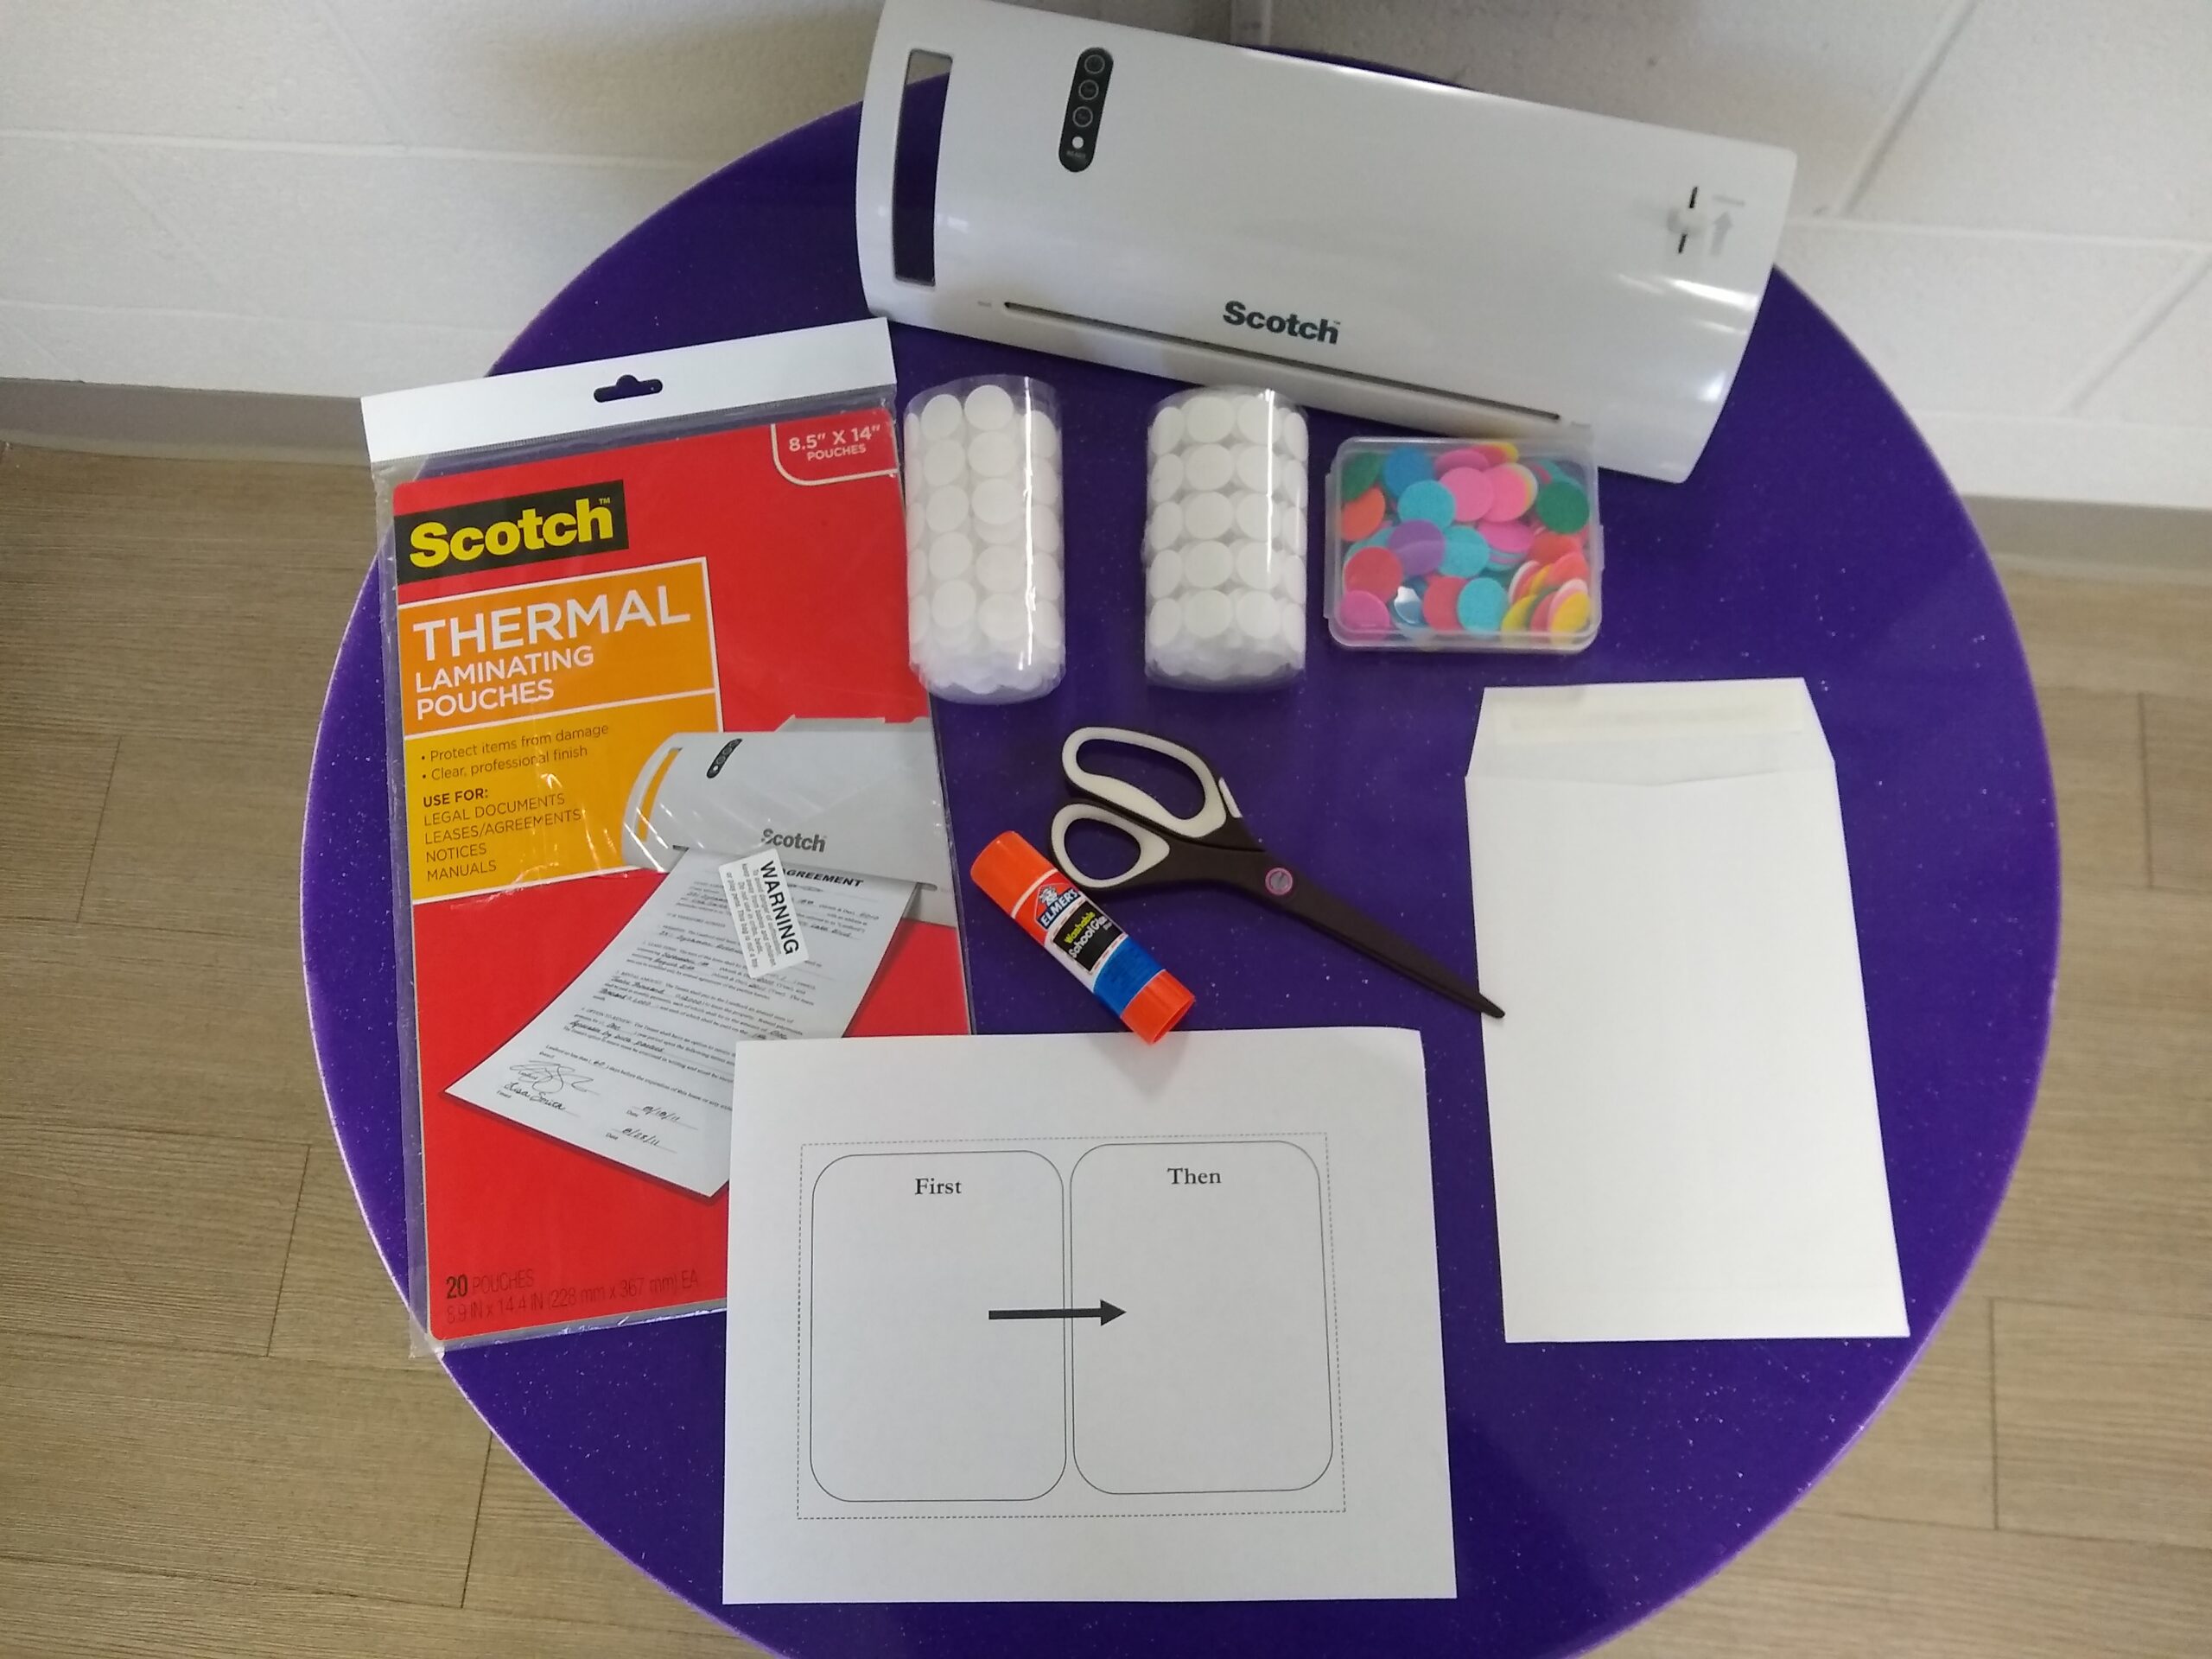
You’ll need…
- A No. 1 size envelope (9″ x 6″) like these ones
- Sharp scissors
- A glue stick (or liquid glue if you prefer)
- Laminating (I use pouches and this laminator)
- Printed visual schedule, token reward/countdown visual, limited choices (which I use for kids who want to play with ALL the toys during their appointment, which is especially problematic while I continue to disinfect toys between kids), or first-then visual
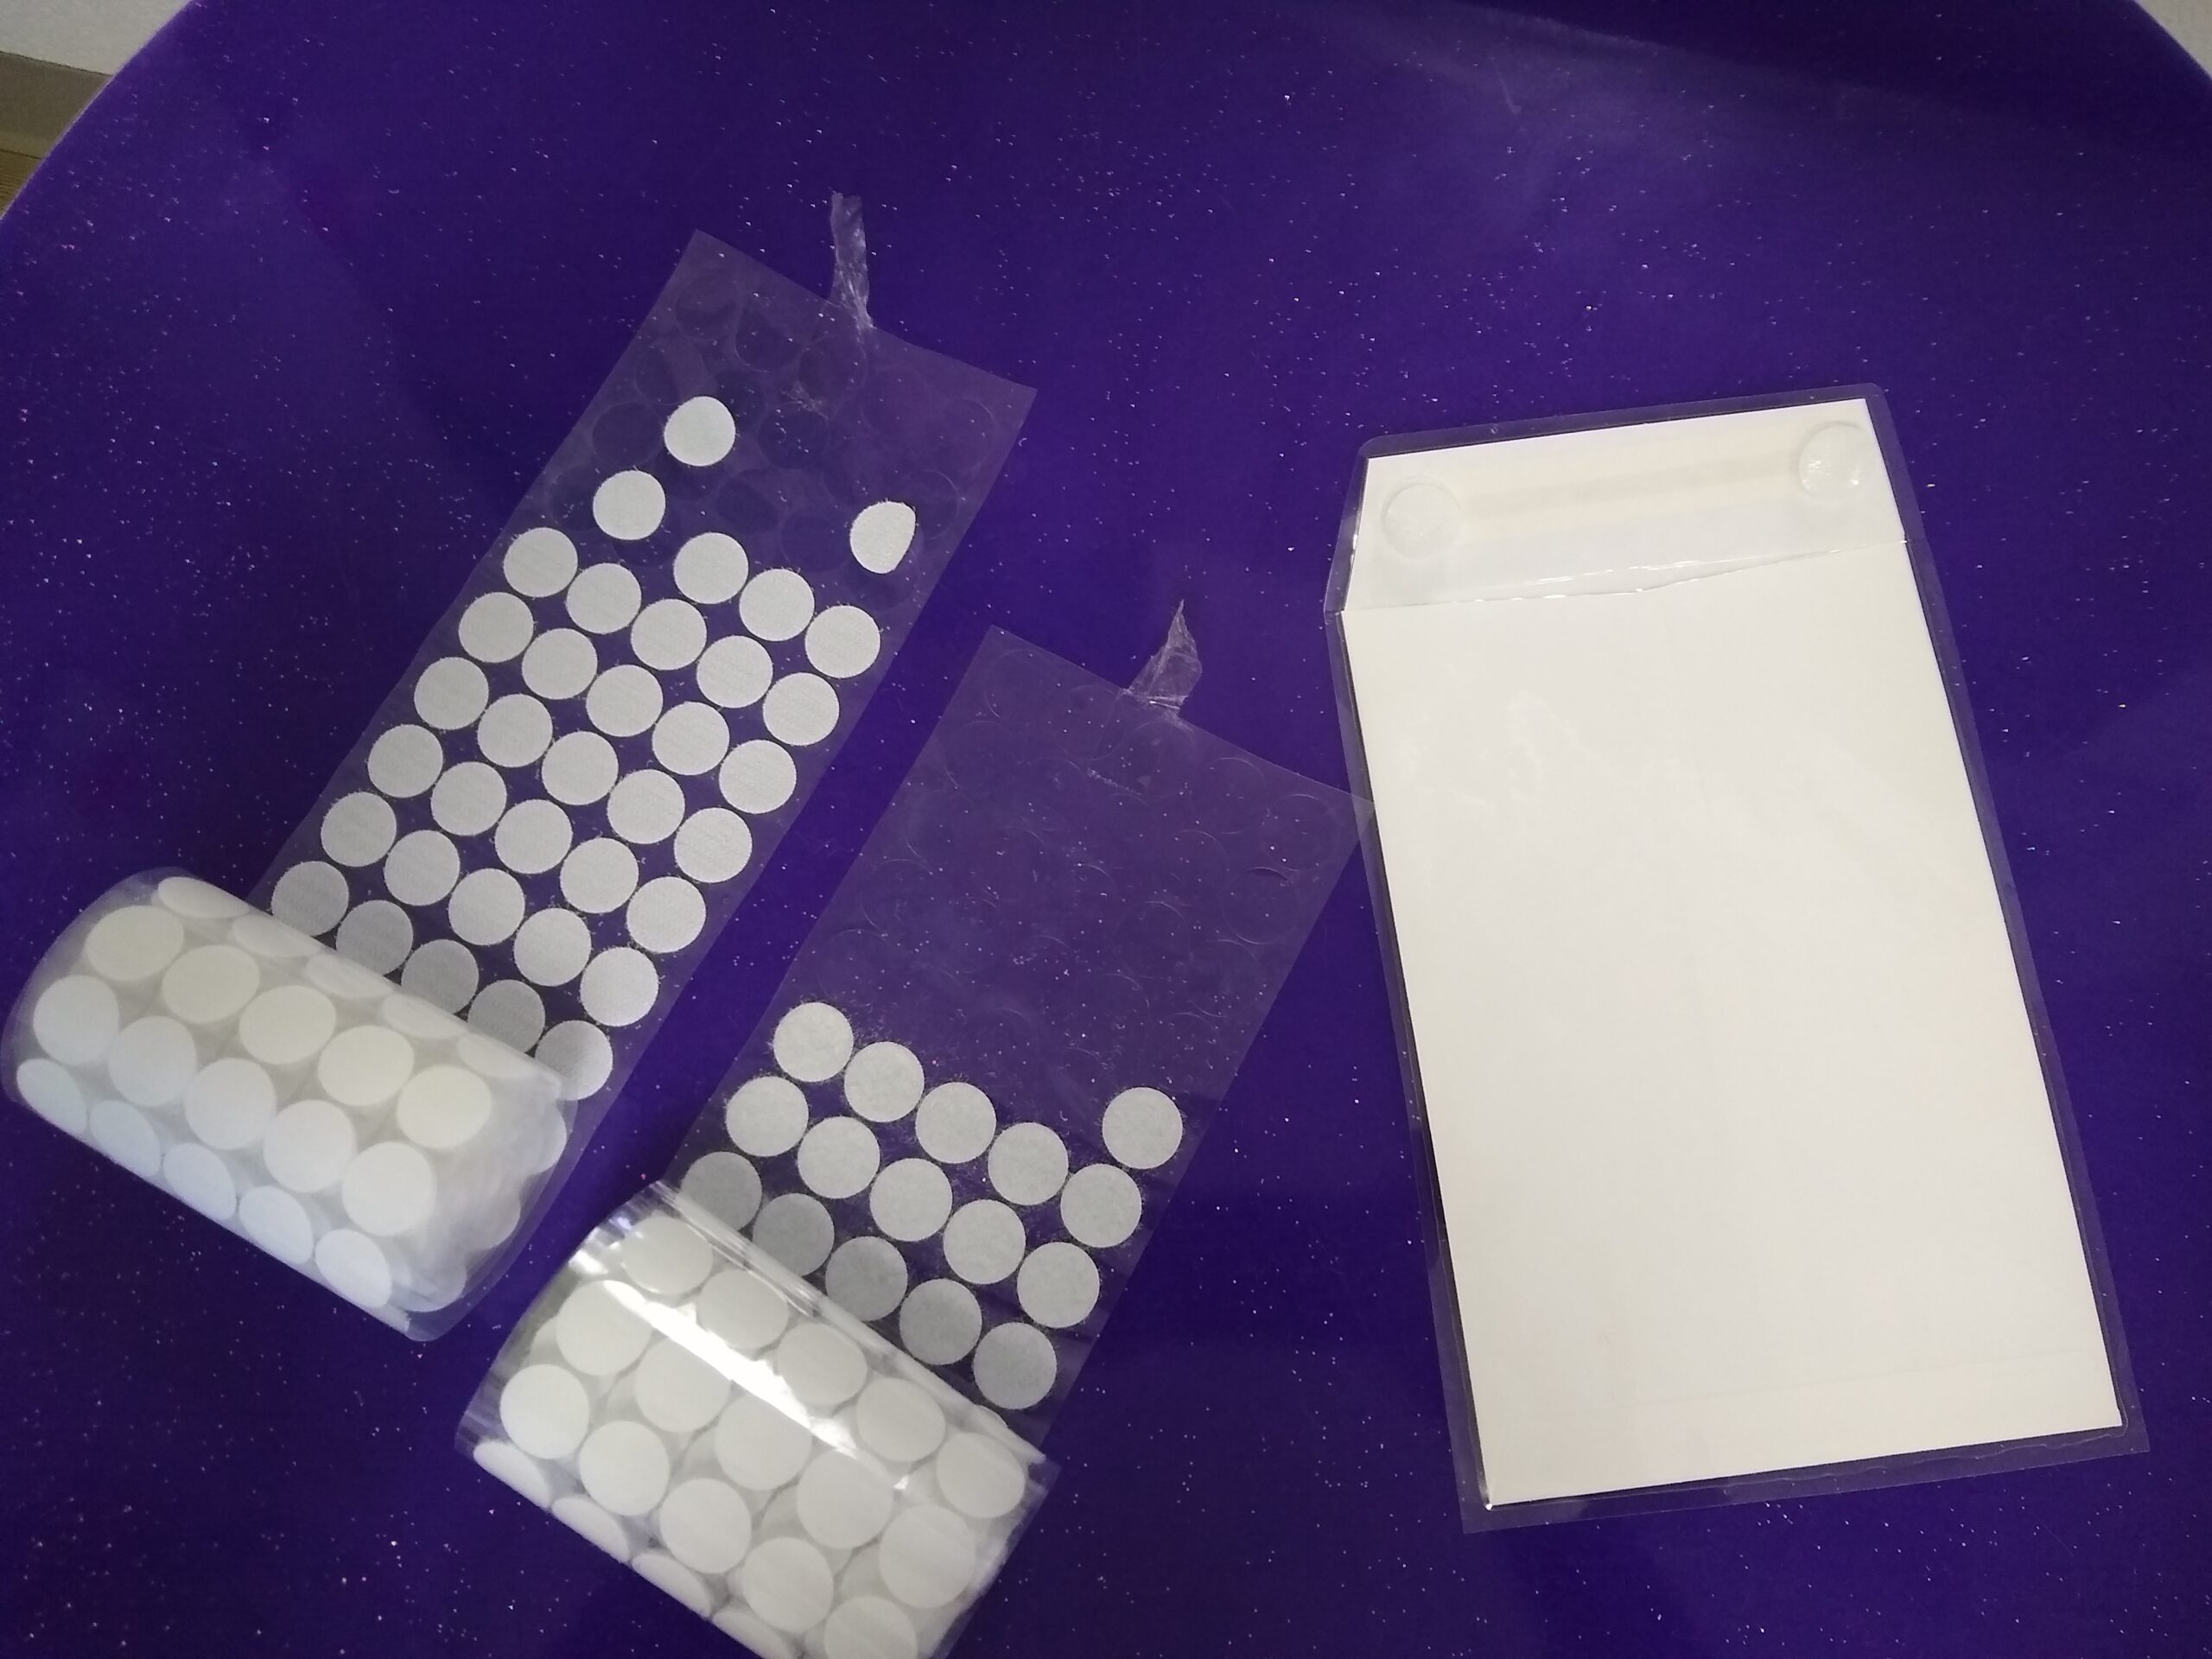
- 3″ Velcro strip or Velcro dots
- For the token reward visual: 1″ bingo chips like these ones
- For the token reward visual: 7/8″ Velcro dots like these ones
- For the visual schedule: icons for the visual schedule (here’s a document with blank 2″x2″ icons).
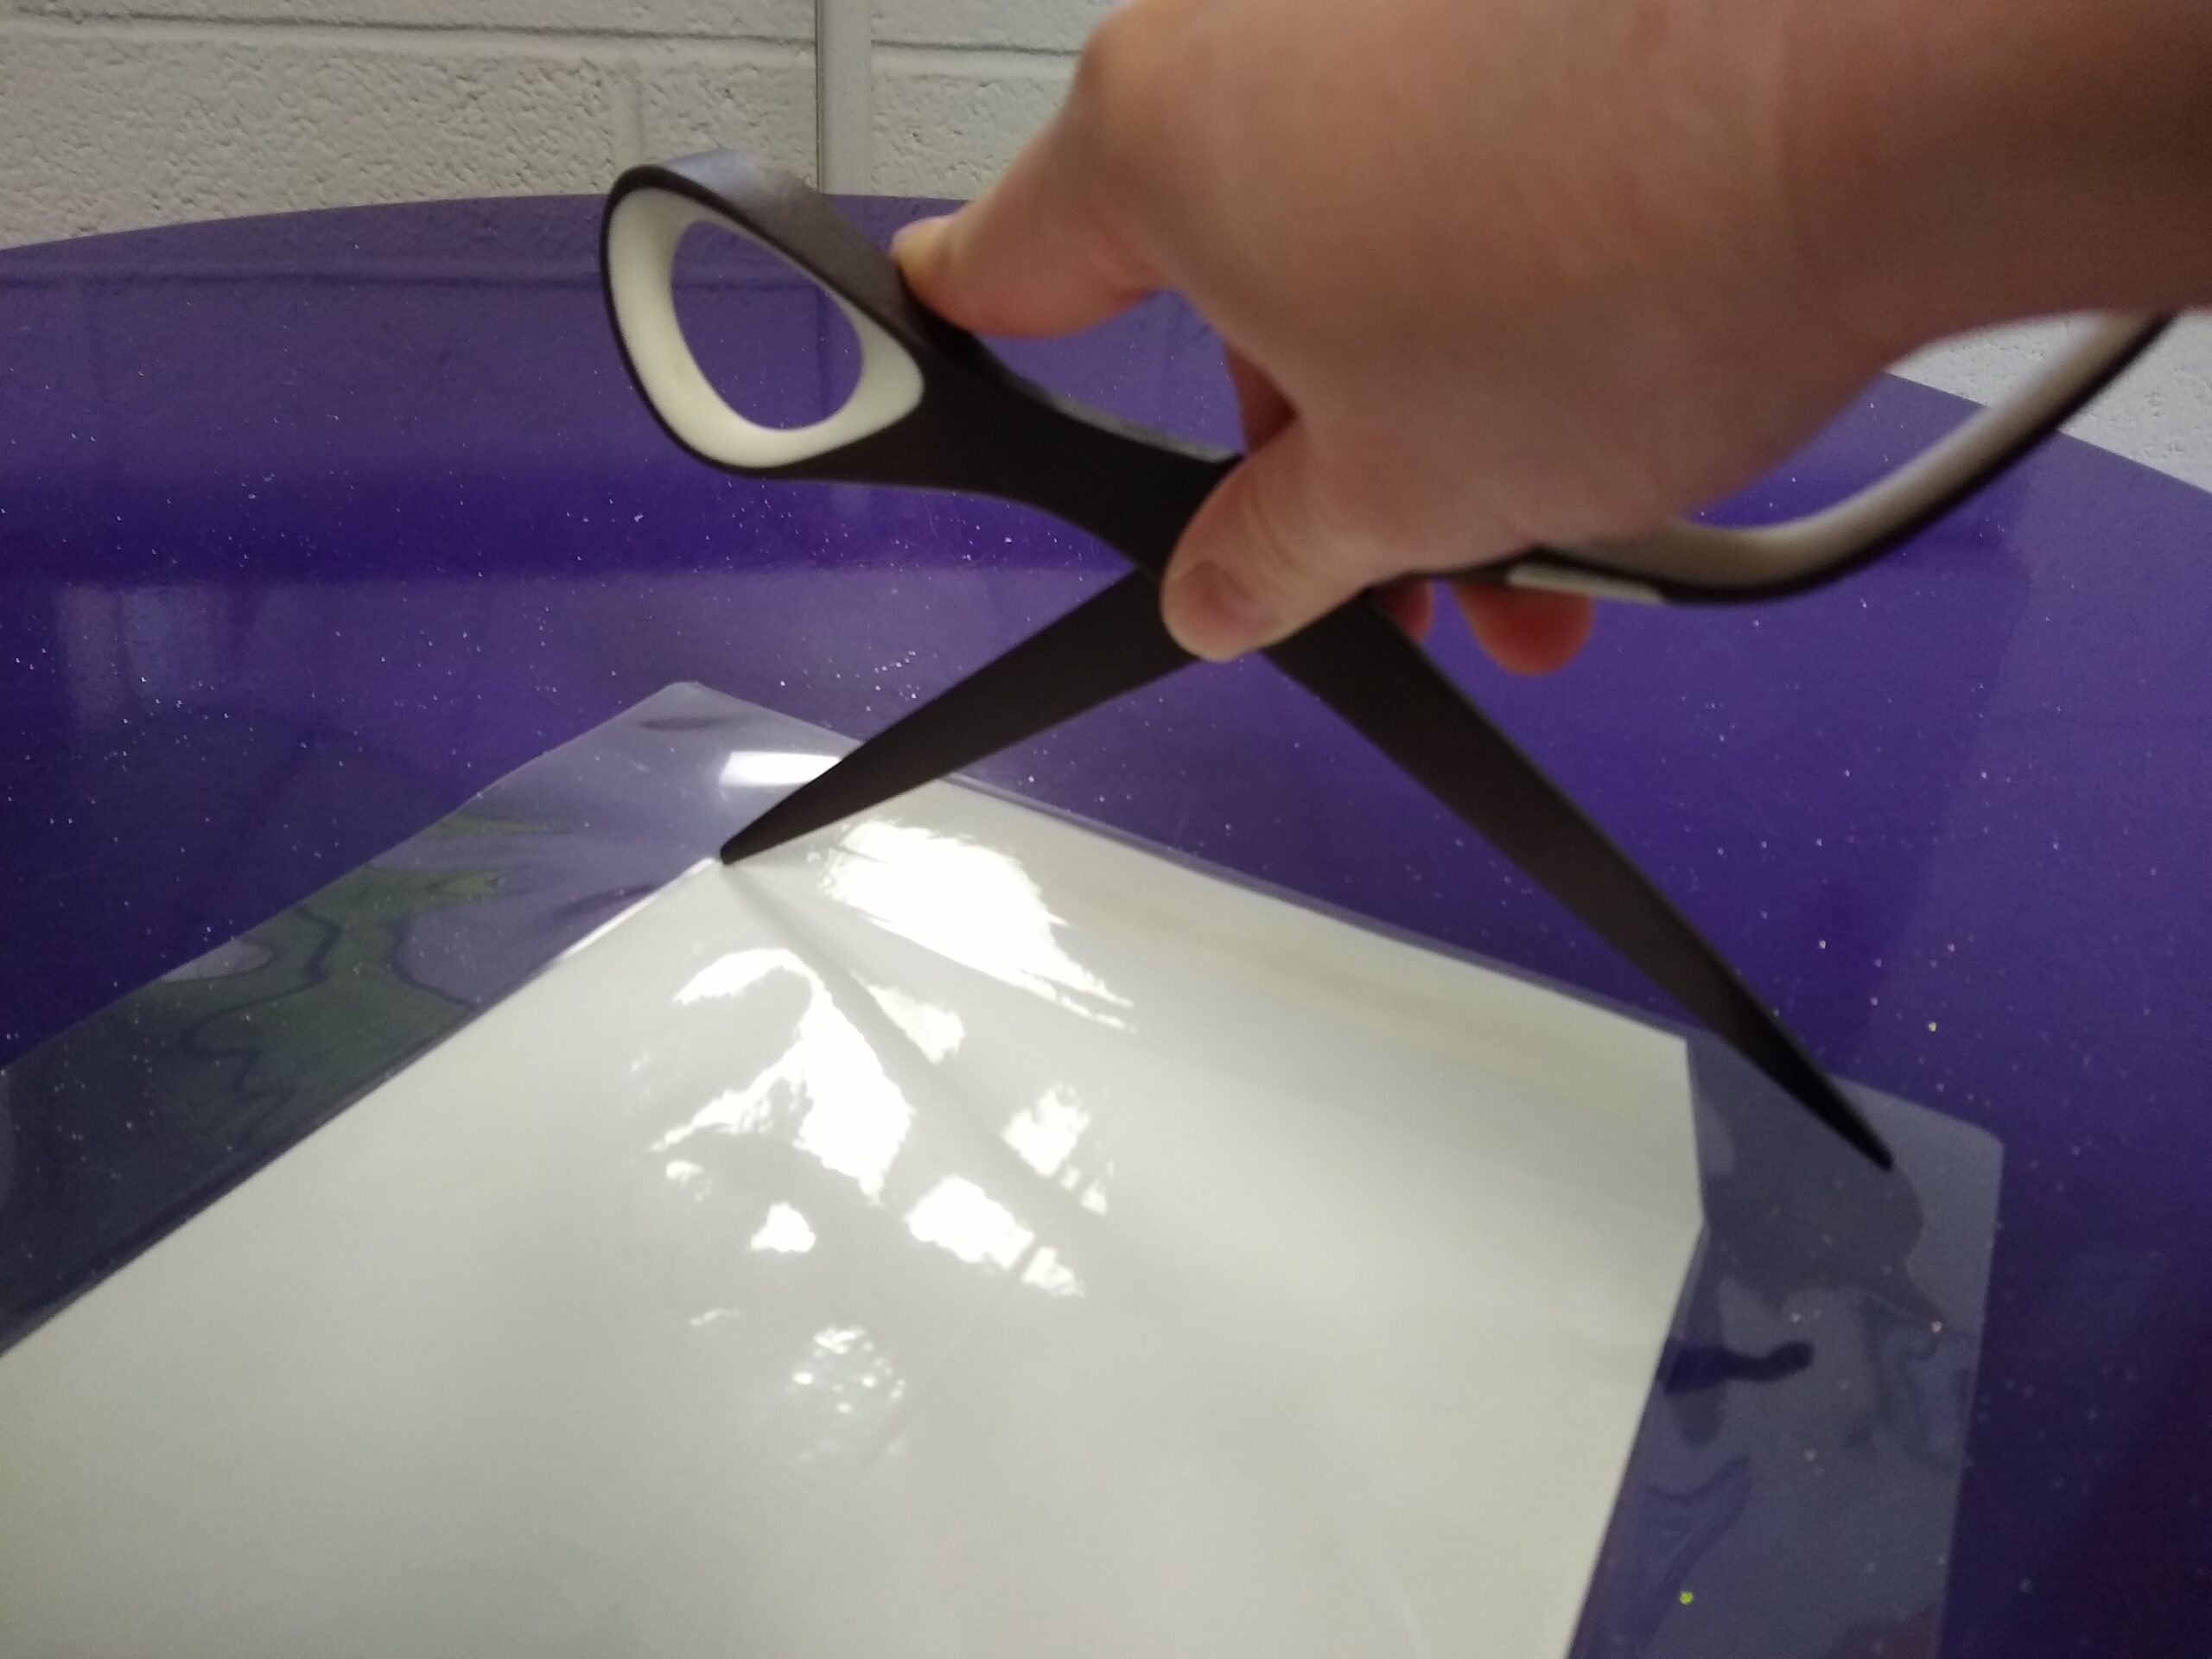
Step 2: Cut the Printout
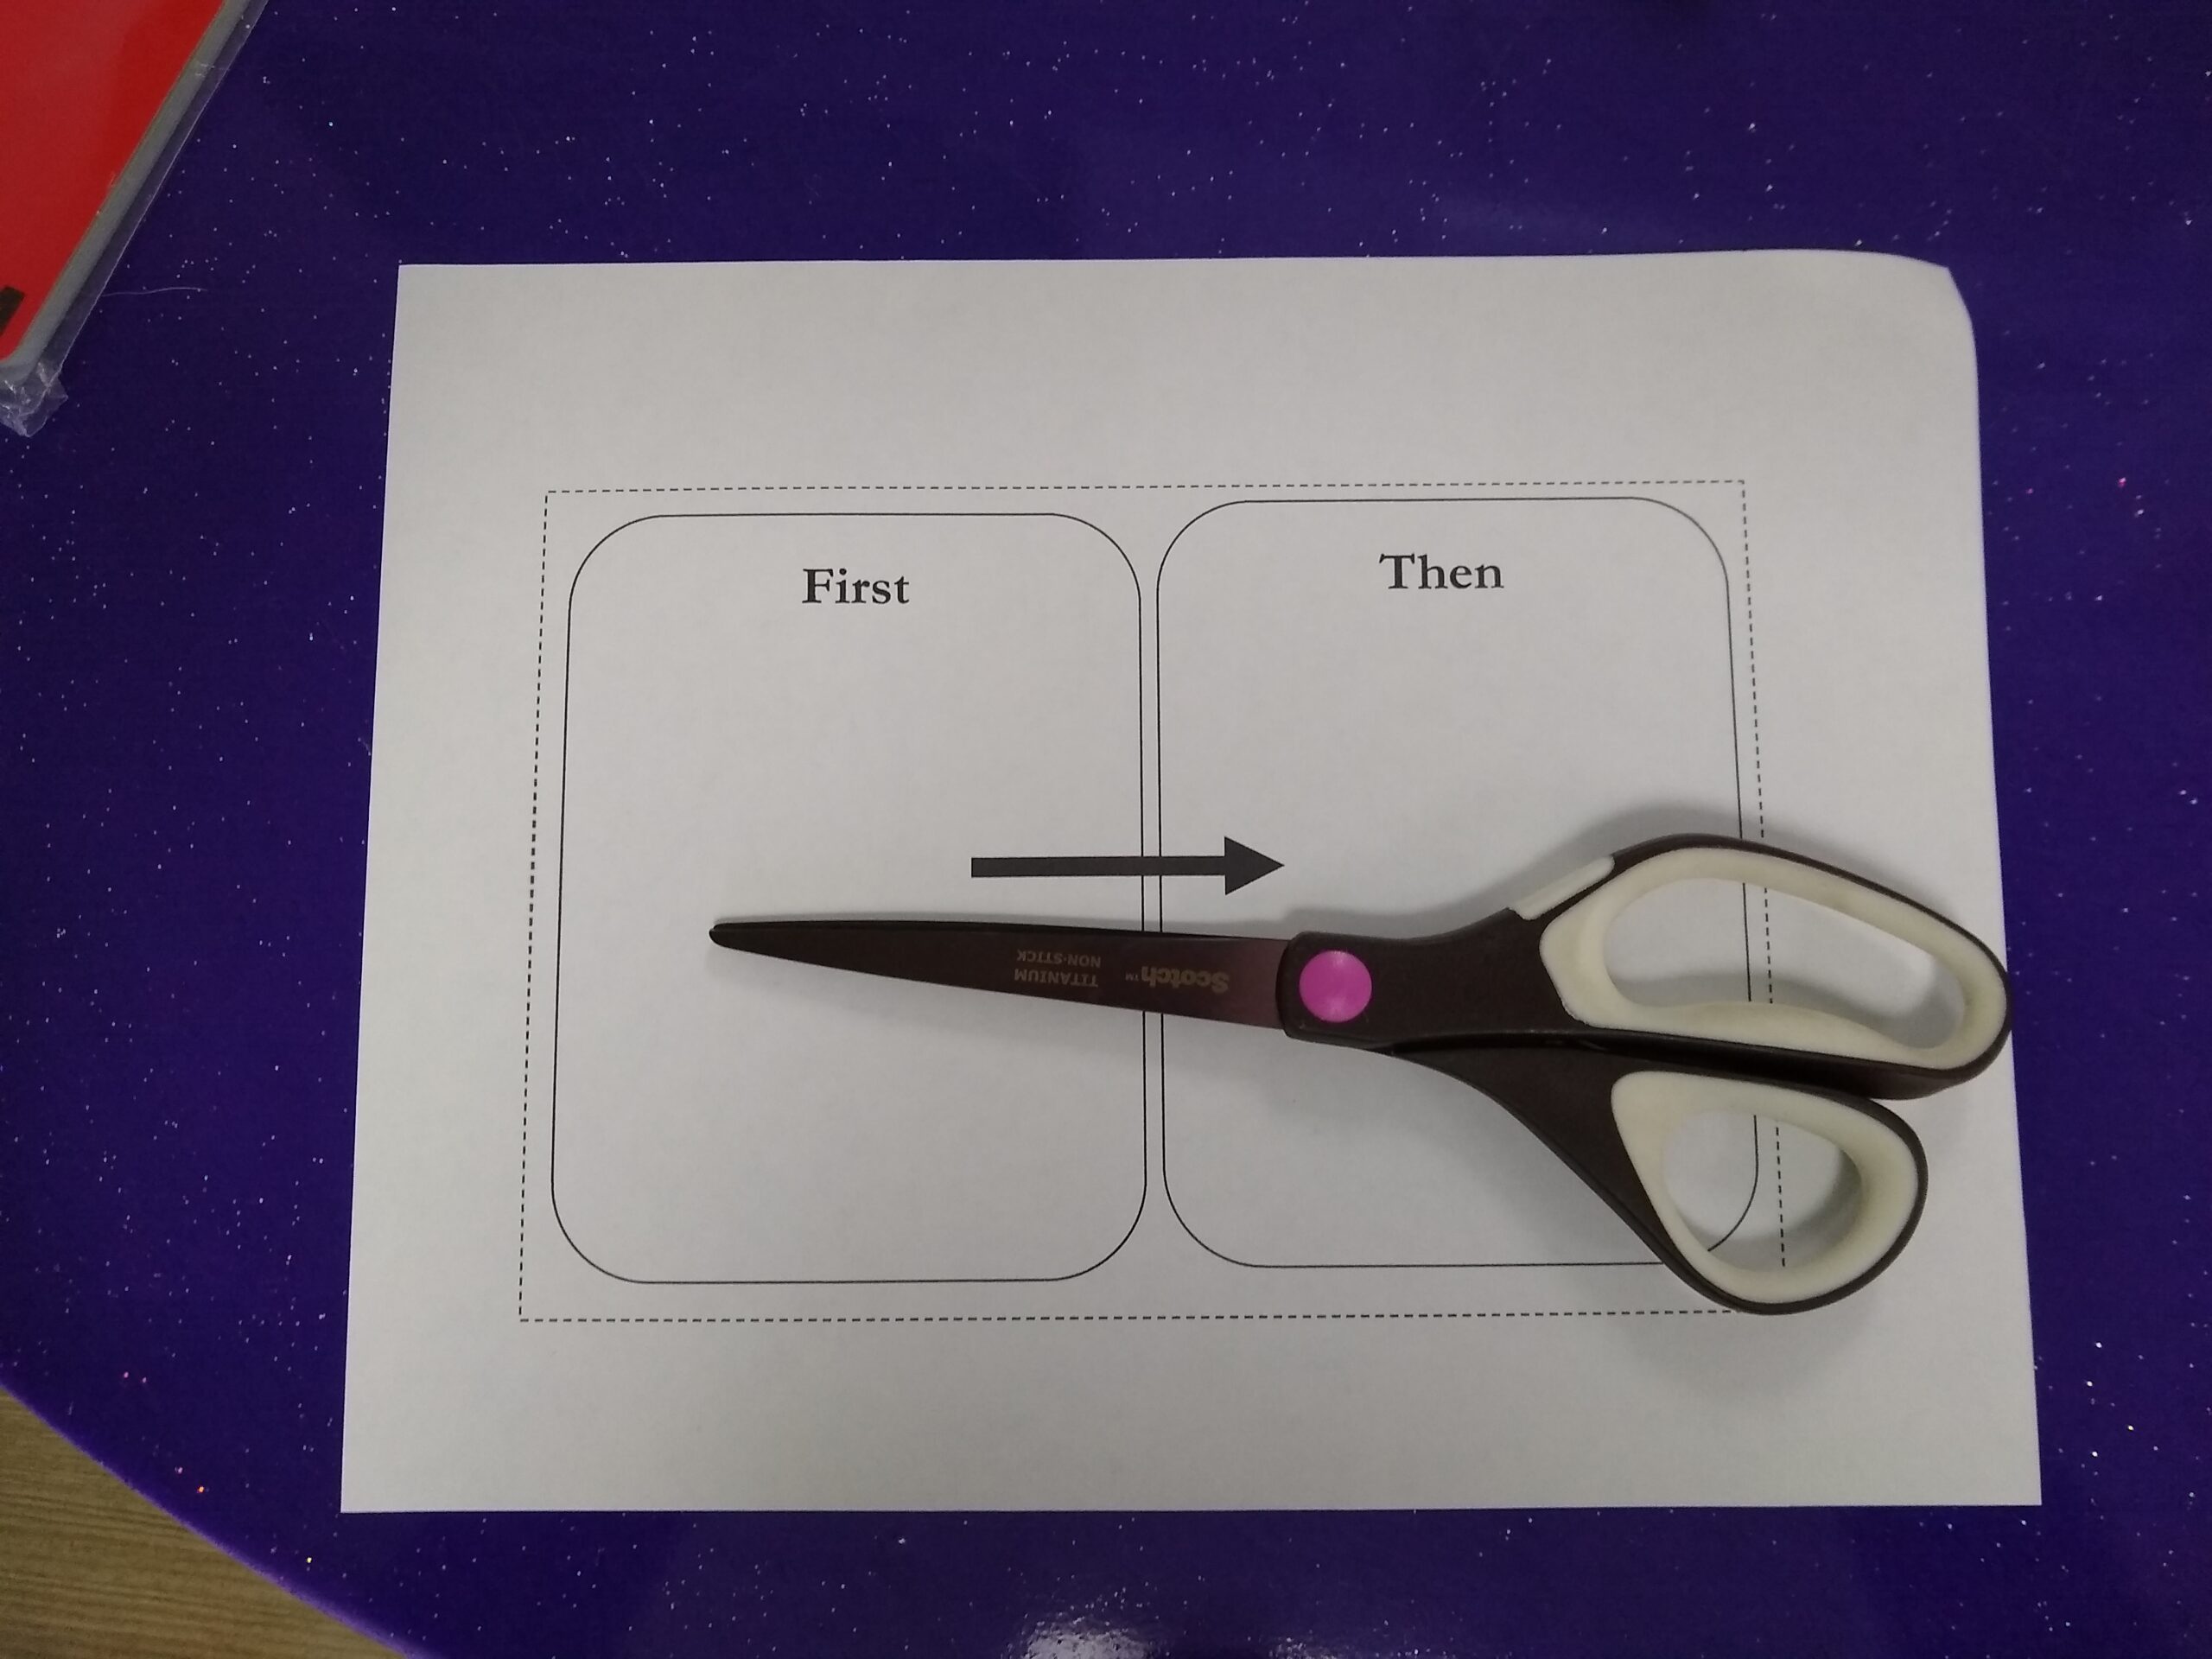
Cut just inside the dotted line.
Optional: Also cut out the icons for the visual schedule or choice envelope. I cut mine before I laminate them so they’re extra durable and disinfect-able. I have some that I’ve been using for a decade!
Step 3: Glue the Printout to the Envelope

Glue the printout to the address-side of the envelope (not the side the flap closes onto).
Step 4: Laminate
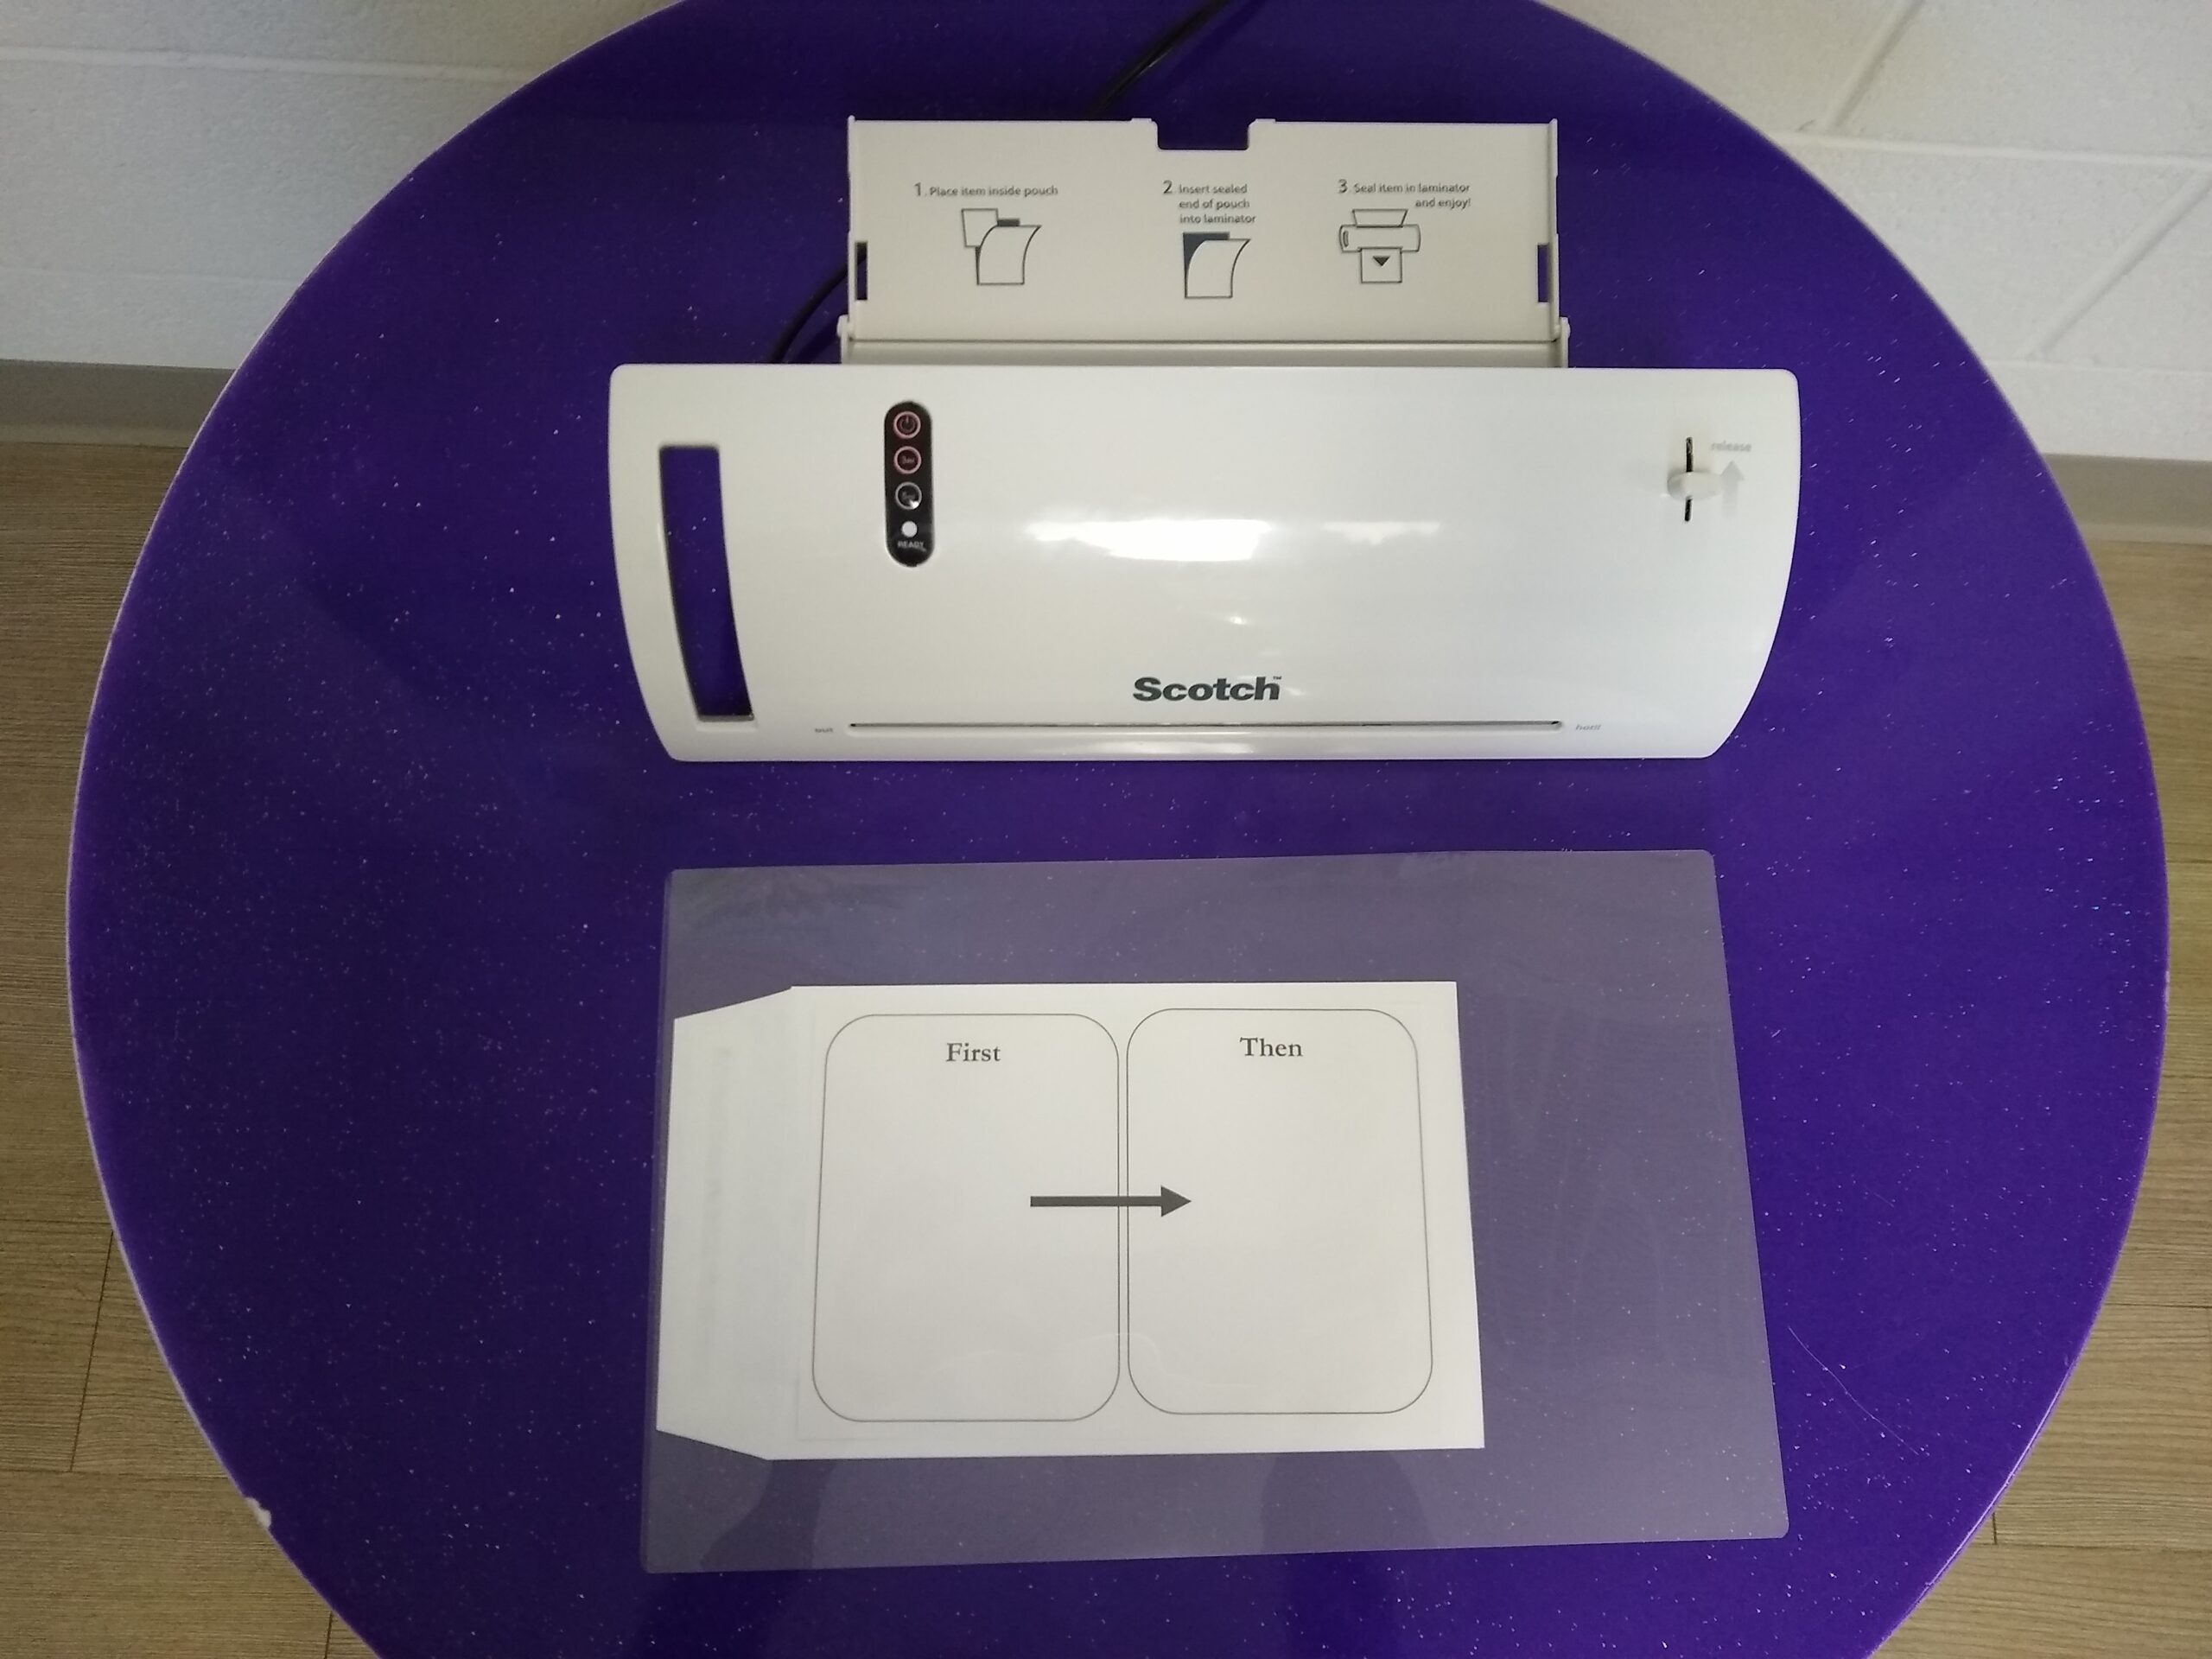
Laminate the envelope with the flap OPEN.
Optional: Also laminate the icons.
Step 5: Cut the Laminate
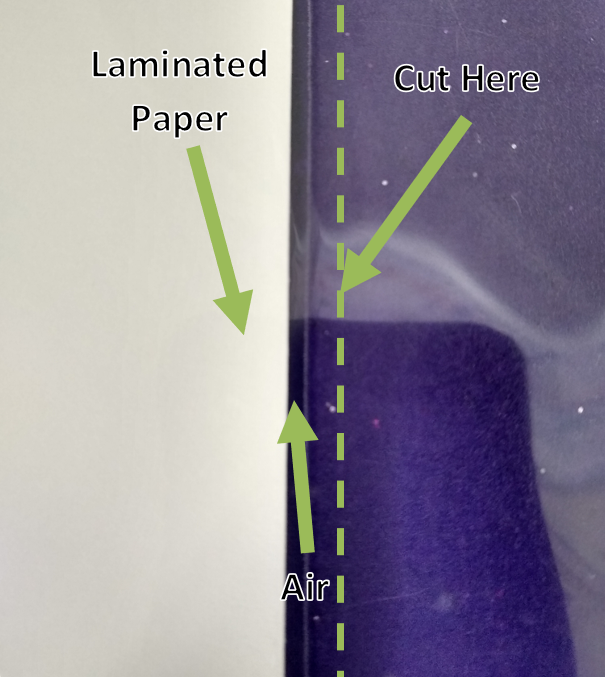
Cut out the envelope at the spot where the laminate is equal to the air next to the envelope. This gives the envelope the best longevity. I still have envelopes I’ve been using for a decade!
Pro tip: I put my Velcro dots/squares onto the back of the laminated icons before I cut them out – it’s so much easier to keep them from moving around and getting lost!
Step 6: Slice Open the Envelope
Carefully use the edge of your scissors to cut through the lamination for the opening. You can also use a sharp knife or an X-Acto blade for this step.
Step 7: Attach Velcro to Printout

Optional: attach Velcro dots to the fist/then, visual schedule, choice, and/or chip spots. I always use the soft Velcro on the envelopes so that the dots/schedule icons will stick to things if they get loose.
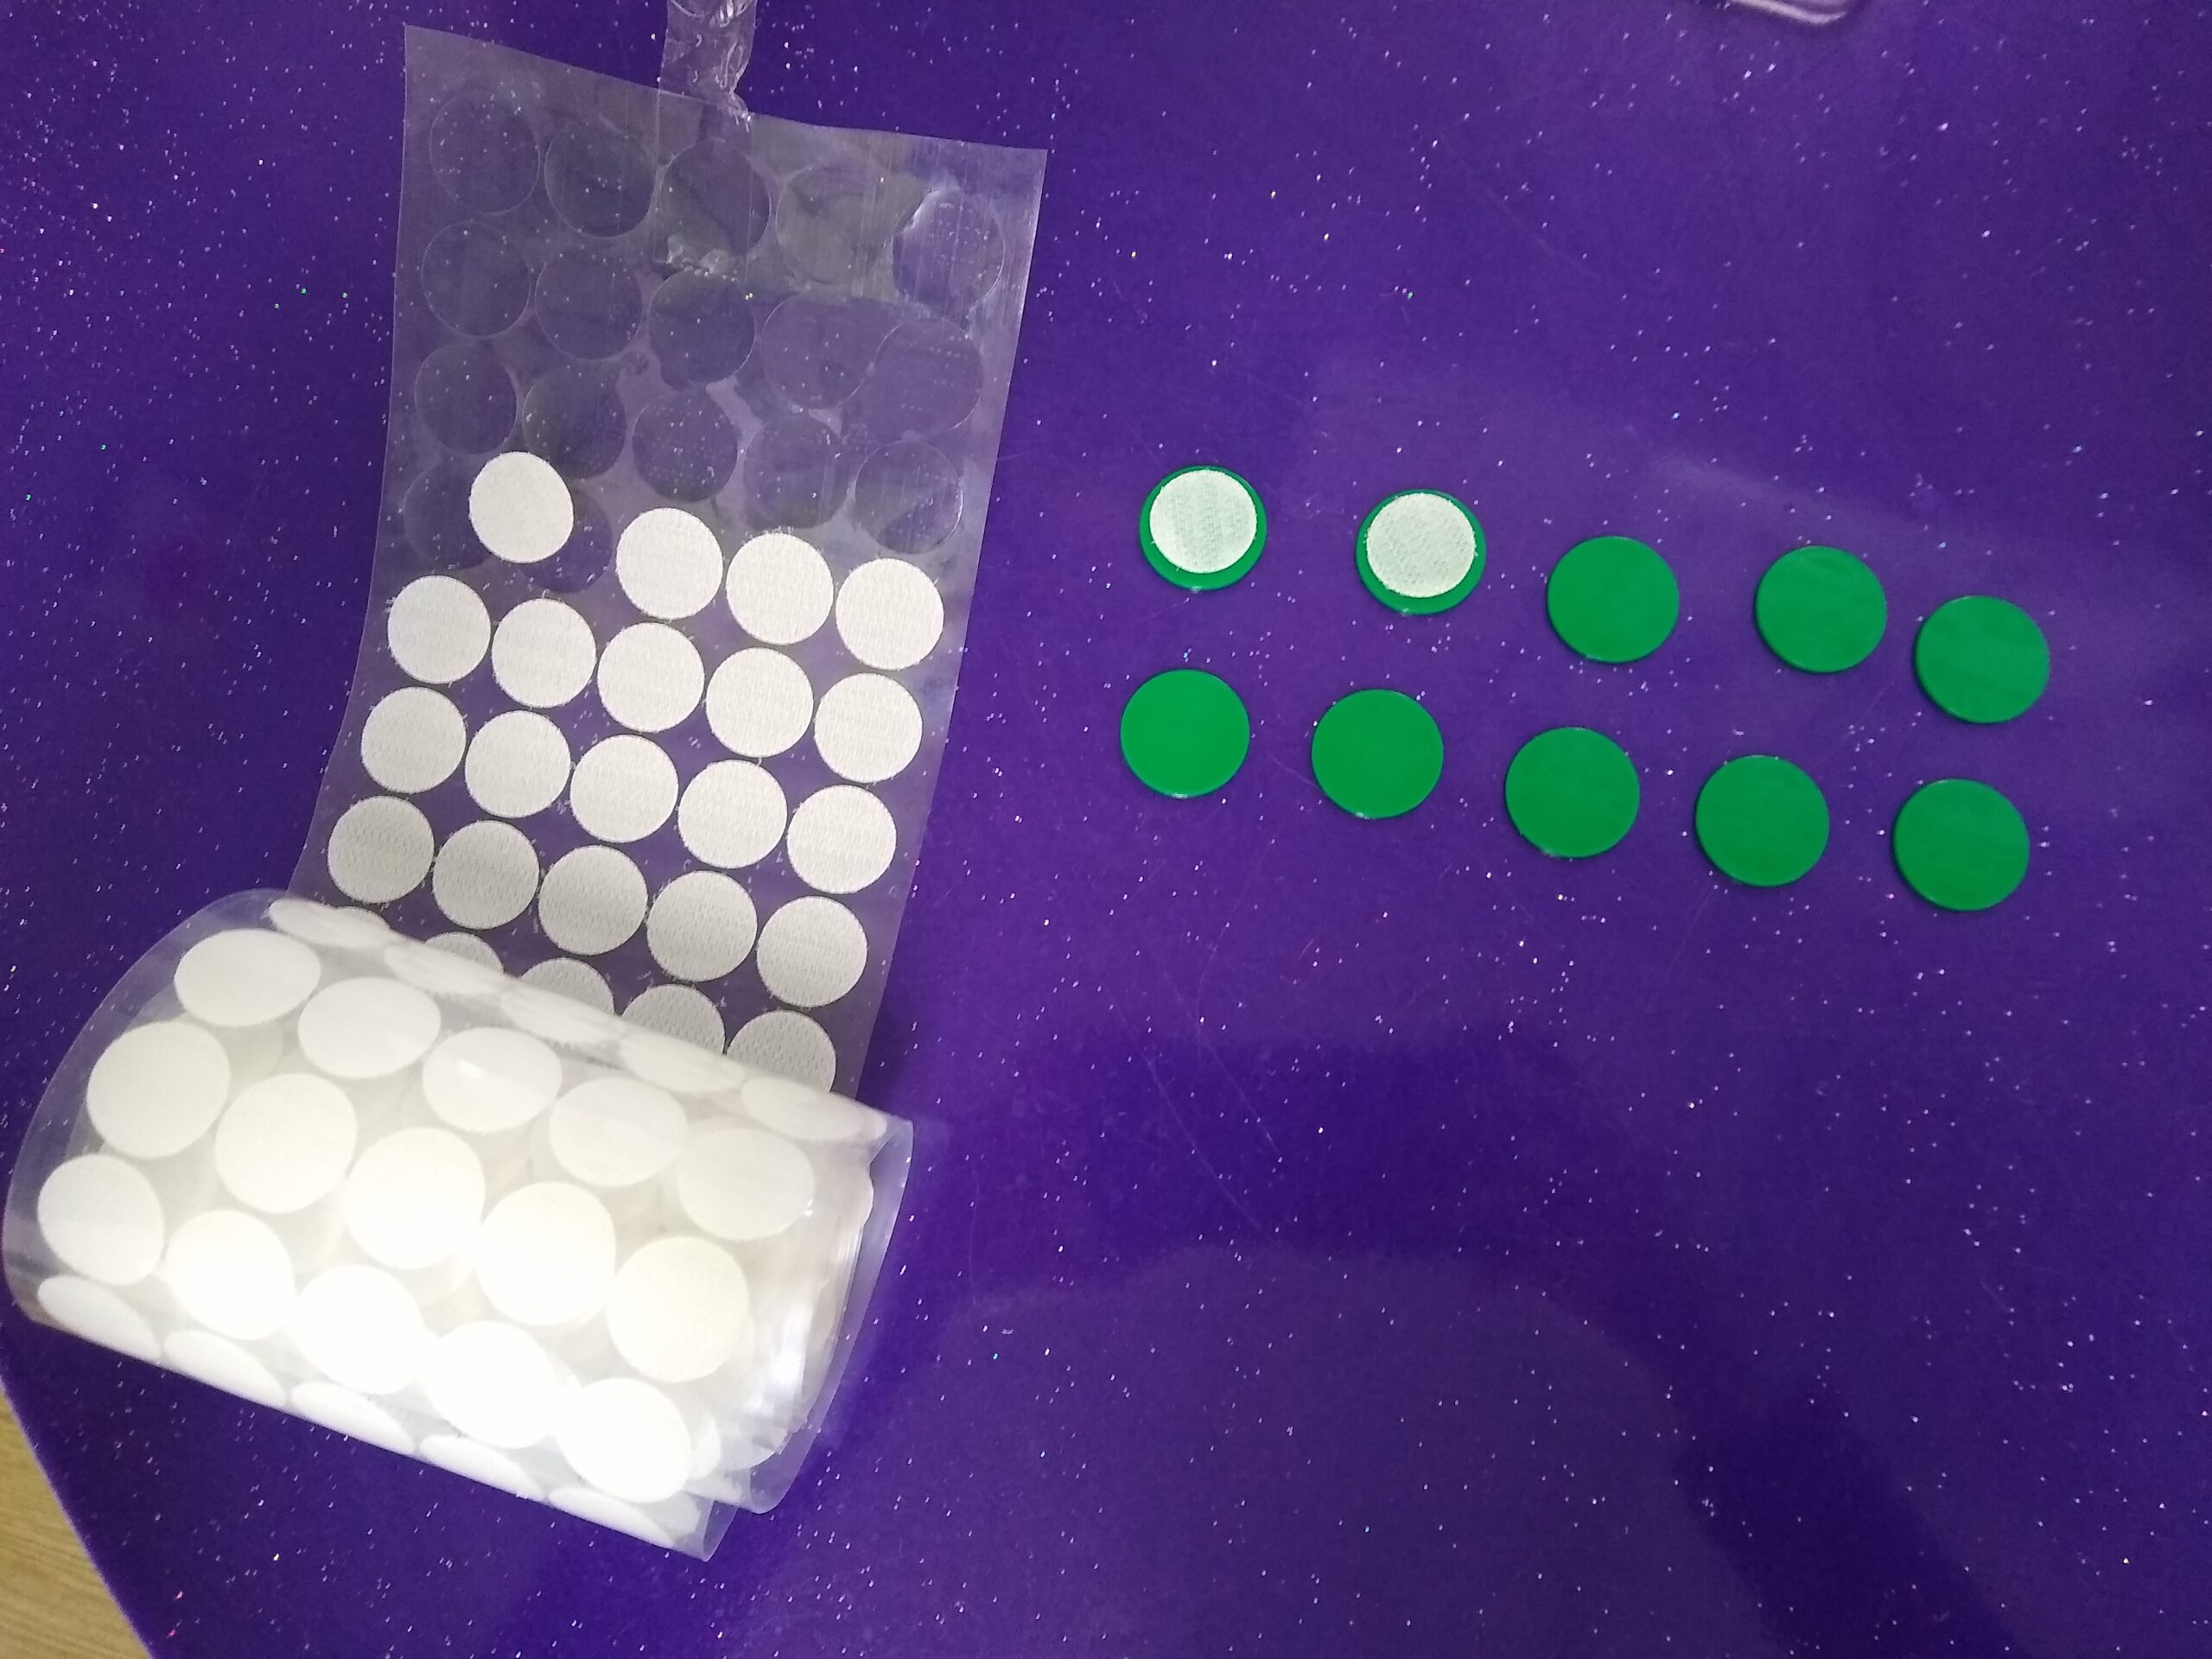
For the token reward visual: attach Velcro dots onto bingo chips. I always use the hook Velcro strips on the chips so they’ll stick to things if they get loose.
Step 8: Attach Velcro to Envelope Opening
Attach Velcro (dots or strips) onto envelope opening.
Voilà
Your envelope is complete! You can add a dry-erase marker, wet-erase marker, or permanent marker (which is easily removed from laminated paper with rubbing alcohol or hand sanitizer) to the envelope. I’ve had quite a few smart kids who will erase whatever the “first” item is so I usually use permanent.